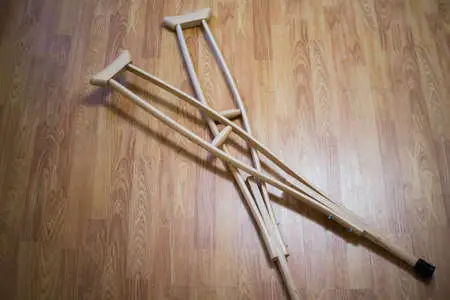
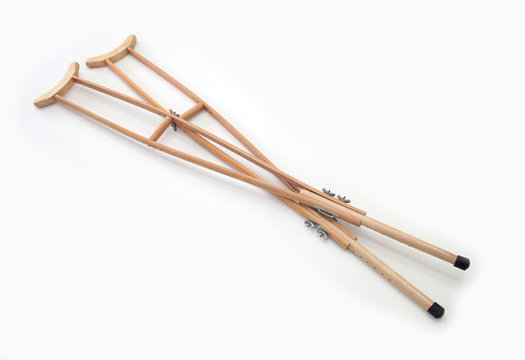
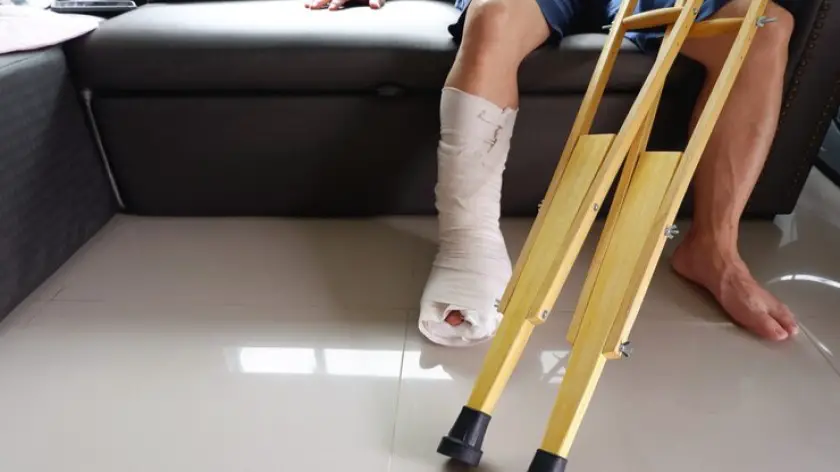
There are many great DIY methods of making crutches.
From old-fashioned canes to woods, papers, and brooms, you can find a way to make crutches to meet your specific needs. If you cannot afford to buy ready-made crutches, you can make yours.
You can even use a plastic bag as a crutch.
Crutches made from household items are lightweight and easier to carry.
You can walk safely with your homemade version without any pain. With readily available items, you can modify them to fit your needs.
Table of Contents
- The Step-by-step Guide on Making Crutches Out of Homemade Items
- Painting and Decorating Your Homemade Crutches
- What to Consider When Making Homemade Crutches
The Step-by-step Guide on Making Crutches Out of Homemade Items
Once you have a few household items, you can start making your crutches.
Materials Required
The items needed for the task are as follows;
- Old woods
- A broom handle
- A piece of paper
- Nails
- Wood glue
- Hand drills
- Bolts and nuts
Related: How to Make Crutches for Kids
Procedure

Get Lumber for the Job
Start by finding straight-grain sound lumber like an oak or a white pine. A bendable hardwood is easier to keep clean and looks good and strong than a softwood.
Split the Woods
Next is to rip the woods to accommodate the boards. Note that the boards will depend on your height, size, and physical strength. The standard measurement to split the woods is at the 12 inches end. Simply mark the 12 inches end and separate the woods down to the center lines.
Drill Your Holes
Locate the end where you made the splitting cut and drill a 3/8 inches hole underneath the mark using your hand drills.
Put a 3/8 inches hexagonal bolt head past the hole and secure it with the nut.
Cut to Get the Y Shape
Now, cut off a 3/4 inches wedge and push it in-between the two limbs to get a Y-shape. Make sure that the lumber is symmetrical to get the Y-shape.
Cut the Bevel Portion
A 4 inches block with 1×1 inches is best used for the bevel portion. The end walls should have 15° slopes for comfort and ease of use. Drill a 3/8 inches hole past the center of the block.
Induce the Perfect Height
Once you’ve cut the bevel portion, mark out a center for grabbling, push the all-threaded rod, and nut each end with a bolt. Make sure to drill several holes to have varying adjustable crutch heights.
Trim and Create Steps
Cut or trim the excessive portion of the limbs after trying it on. Once you’ve confirmed that the crutch is even and accurate, proceed to create steps for easy grabbling. Two blocks having 7 inches in length and 1.5 inches in diameter are a great fit. Connect the end of the blocks to the crutches using glues or nails.
Do the Final Touching
To make your crutches more appealing, integrate surface smoothing and polish. Below is how to paint or decorate them.
Related: How to Decorate Crutches Beautifully
Painting and Decorating Your Homemade Crutches
You can paint and decorate your homemade crutches to look more fashionable and comfortable, depending on your choice.
The best way to go about this is to paint them using durable enamel. Then, treat them with a special etching primer to get the best results.
You can either use one paint color or various colors. Whichever you decide, just make sure that you are comfortable and confident with the crutches.
What to Consider When Making Homemade Crutches

Your Height
The first thing you should consider is your height. You might want to use longer woods with enough thickness if you’re tall. You’ll feel much better and will not need to spend money looking for the perfect height.
You can use woods with moderate lengths if you’re short and, trust me, it will be worth your time.
The crutches you make should be of a size that will allow you to support your leg. They should be the same length as your leg. You must be sure to use them in the right position. Hold them at the same level as your injured leg to avoid injury.
Related: How to Shower with Crutches (Step by Step)
Your Endurance and Physical Strength
It is also important to consider your physical strength and endurance. While a homemade crutch may be a great idea, it may not be the best for you if you don’t have enough stamina to use it.
For example, if you need to sit on the floor, you have to place the tops of your crutches under each arm. And then, lower them gently to avoid damaging the nerves under your arm.
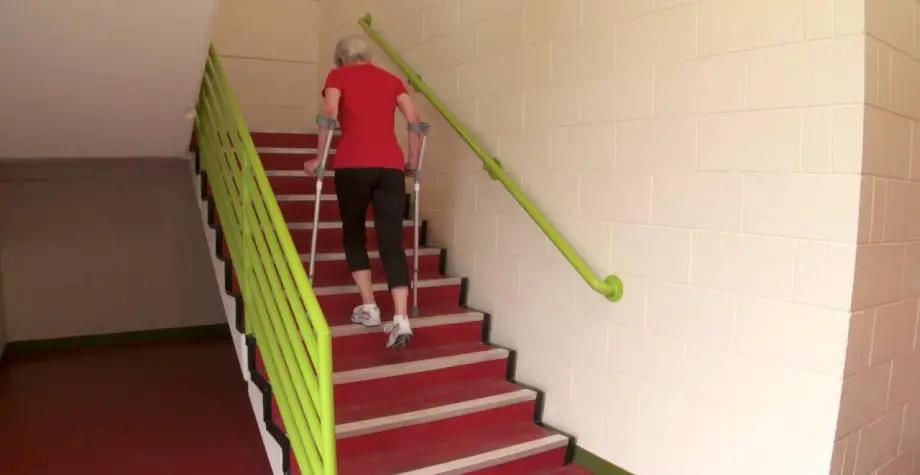
You may also need to use a pair of handgrips with your crutches to help you get up and down the stairs when carrying more things.
But that’s not all.
The handgrips should be at least an inch apart from your underarms. This means you need some levels of stamina to use homemade crutches. The handgrips can be close to the sides of your arms so that your hands can absorb any extra weight.
If you feel that you don’t have enough strength to make and use homemade crutches, it’s best that you buy an already-made crutch that fits your needs.
Availability of the Materials
Do you have the necessary materials for making homemade crutches? What about the tools needed?
Before you decide to make crutches, you must be sure that you have all the required materials. I’ve earlier mentioned the tools needed for the job, so it will be easier for you to source for them.
When making homemade crutches, also make sure that you have grooved rubber tips and handgrips. This will support the injured leg and allow you to put some weight on it. Also, don’t forget that you will be needing nails, bolts & nuts, and glues.


