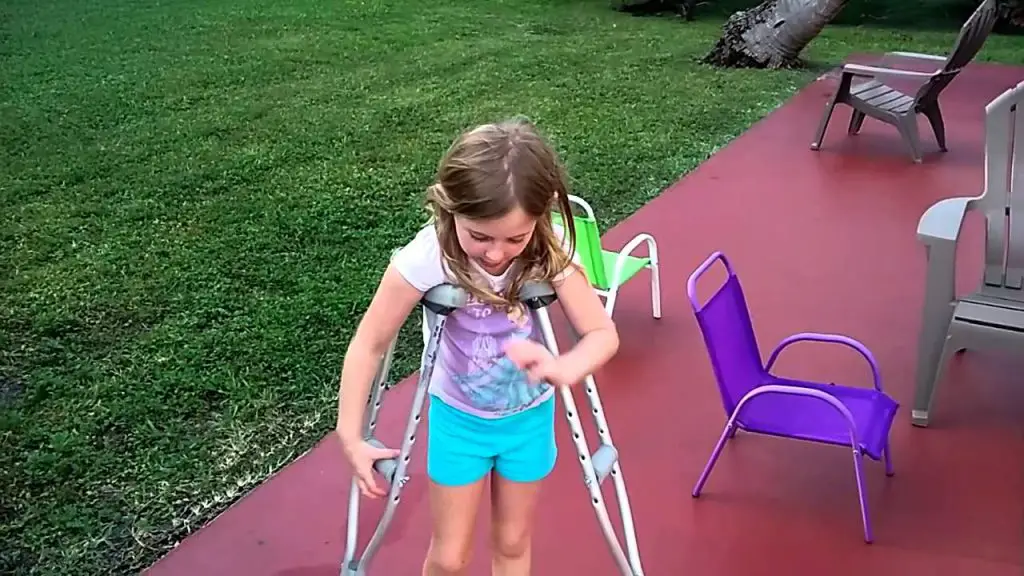
Part of your duties as a parent includes seeing to the comfort of the kids under your care.
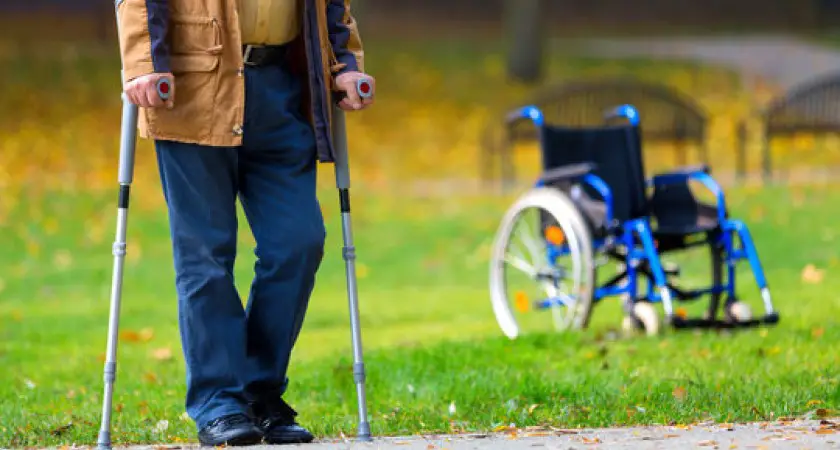
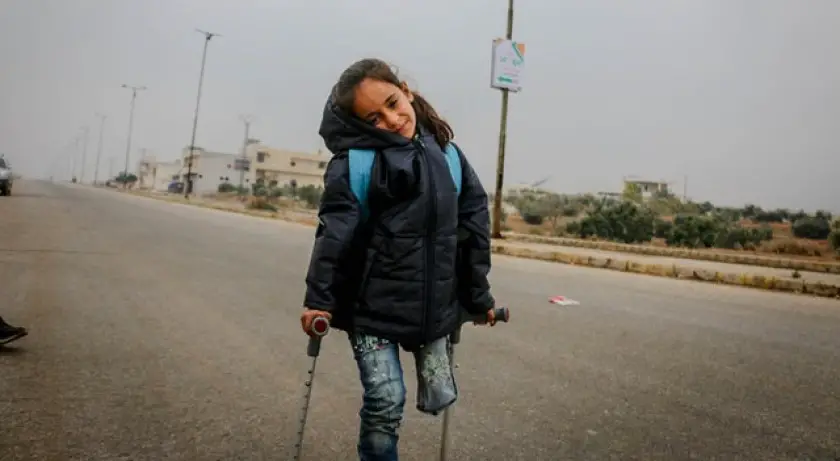
Sometimes, you have to go the extra mile to provide for their needs. One of such occasions is when you have to provide crutches for them to ease their movement.
But for some reason, you might not be able to purchase one. A situation like this will leave you with no other option but to seek a homemade remedy.
You can produce a pair of crutches for your child when you have the necessary equipment, skill, and technique at your disposal. This craft requires some simple steps.
I explain the step-by-step guide in this article.
As you follow the steps below, bear in mind that this isn’t rocket science. You will find yourself putting up a pair of crutches for your child in no distant time.
Table of Contents
- Materials You Need
- Steps to Follow to Make Crutches for Your Kid
- Tips to Help You Make the Perfect Crutches
Materials You Need
- Measuring tape
- Power drill to drill holes
- Two 2-inch-long hex bolts (1cm diameter)
- Two 6-inch-long thread rods (1cm diameter)
- Pencil to make markings
- Notebook for noting measurement values
- Screws for tightening the bolts
- Sandpaper
- Nails
- Circular and table saws for cutting
- 3 2-by-2 pine boards (about 6 feet long)
Related: How to Decorate Crutches Beautifully
Steps to Follow to Make Crutches for Your Kid
1) Shop for Quality Materials
Crutches are supposed to aid movement and guarantee the safety of the user while the user uses them. Your child’s safety should be your priority while you make crutches for him or her.
Ensuring the safety of your child starts from the quality of materials you purchase to do the job.
There are various kinds of pine boards you can find on the market. Generally, pine boards are inexpensive and are the preferred choice for kids’ furniture. This means you can always aim for the best quality of board without bothering so much with the price.
2) Put the Materials to Use
i) Use your measuring tape to measure the length from your child’s armpit to the ground.
ii) Also, measure the length from your child’s armpit to his or her lower hip. Take note of the values of these measurements.
iii) Take two of the pine boards and mark off the lengths you’ve measured on each of the pine boards.
iv) Measure four and a half inches on the third piece of pine board. Do this in four places and cut them. This will be for the crutch pads.
v) Measure and cut four inches of pine board from the remaining piece of the board after the step above. This will be the handle. Drill a 1cm diameter hole through its center and shape the body of the piece of wood so that it will be easy to hold. Do this in two places for both crutches.
vi) Use your circular saw to cut the length you got in step (i) on your pine boards.
vii) Measure about 12 inches from the base of the new-sized pine boards you got in step (vi).
viii) Split the two pine boards from the top down to the 12 inches you’ve marked. Be careful not to split the board completely. The 12 inches you left untouched at the base is to give the crutches a firm base.
ix) Drill a hole about 2 inches below where the split you made in the previous step stopped. The hole should be 1cm in diameter and it should enable you to fix a hex bolt in it. Fix the hex bolt and tighten both ends of the bolt using nuts and flat washers. Do this for both crutches.
x) Fix hedges in the splits made in step (viii). You can make the hedges from the left-over board you had in step (iv). The hedges should have sharp edges at one of their ends so that they can lap properly in the split.
xi) Drill two holes across the splits at the point where you marked in step (ii). This is the place where you will fix the handles for the crutches. You can make extra holes above and below the original holes so that you can be able to adjust the height of the handles to make your child feel comfortable while using them.
xii) Use the 6-inch-long thread rod to fix the handle you cut in step (v) in-between the split wood. Do this by slotting the rod into holes you drilled in step (xi) and across the handles held in-between the split. Tighten the rod using a flat washer. Cut the protruding part of the rods using your circular saw.
xiii) Nail the pieces of wood you made in step (iv) at the top of the crutches. Shape the top of the crutch to have a little curve so that your child will be comfortable placing his or her arm on it.
xiv) Do your finishing touches. Use sandpaper to smoothen the rough edges of the crutch.
Related: A Quick Look at the Major Benefits of Mobility Aids
Tips to Help You Make the Perfect Crutches
You might find yourself making some mistakes when making your child’s crutches. These mistakes may be small but can cause great harm to your child if he or she uses the crutches for a long time.
You want to be careful to make sure that your child doesn’t experience pains throughout the time of use. Below are some tips to guide you.
1) Make Accurate Measurement and Markings
Take extra care to make sure that you get the exact lengths while taking the measurements of your child. Write the correct values and make thin sharp markings on the board using your pencil.
Also, ensure that both clutches are exact replicas of each other. It will be harmful to use crutches whose heights are not equal.
Related: How to Pad Crutches with Socks (DIY)
2) Remember the Rules
You have to keep to the rules when measuring your child. There should be a little space (at least three or four fingers wide) between your child’s underarm and the top of the crutch. This is to prevent the kid from resting his or her armpits on the crutches while walking. Such practice is harmful and could damage some nerves that run under the arm.
Also, the handle should be positioned at the lower hip or at the kid’s wrist. Ensure that your child stands upright when you’re taking the measurements.
3) Add Some Cushioning
Do well to add some cushioning to some parts of the crutches to make them comfortable for your child to use. The cushioning can be some leather padding or rubber covering wound around the handles of the crutches. You can also pad the top of the crutches.