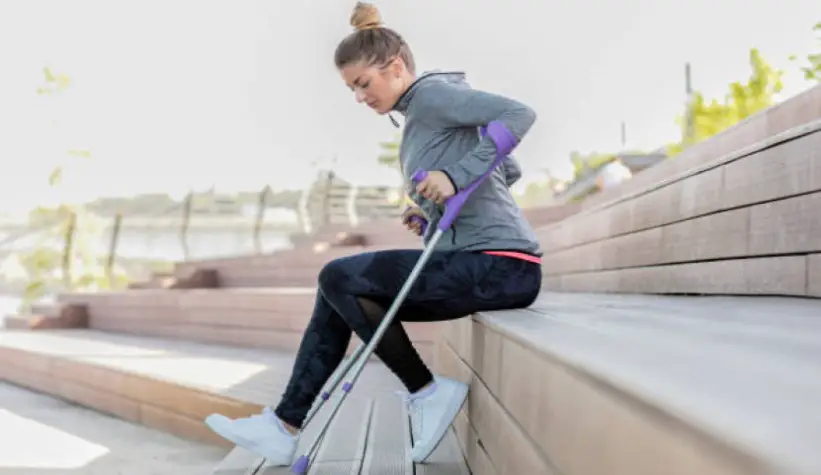
Crutches are helpful to those with medical conditions or injuries who require them for treatment.
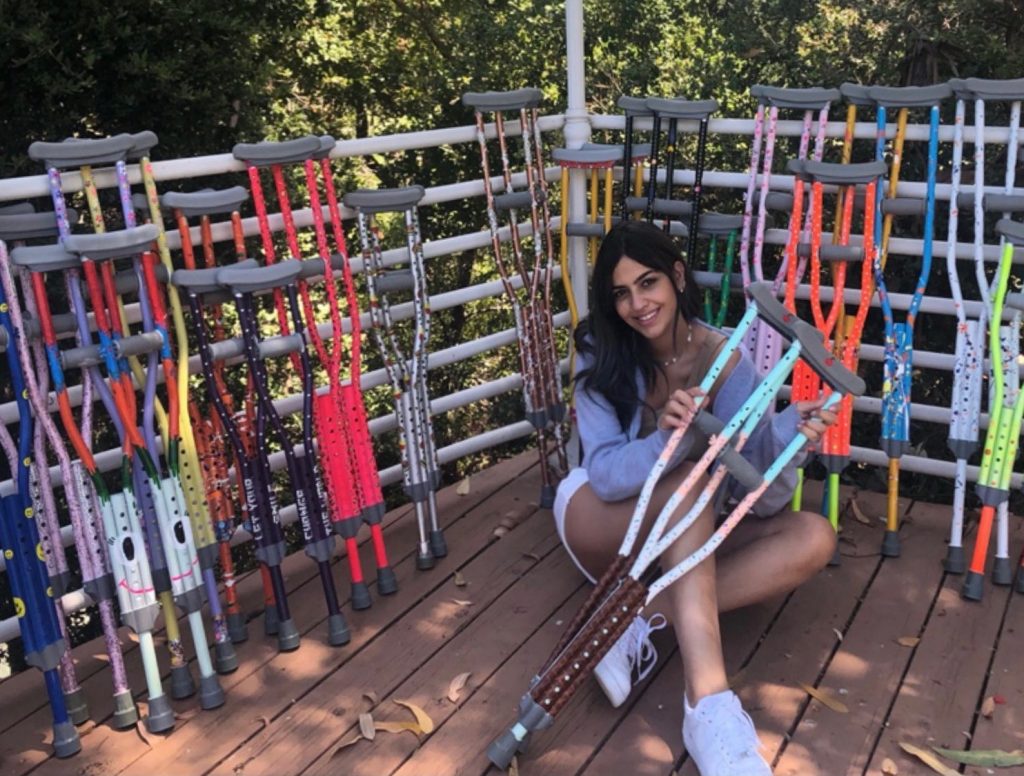
Decorating crutches is a simple, cheap, and DIY-friendly activity that takes less than an hour.
The results are amazing and the benefits are tremendous.
In this article, I’ll be sharing with you the various ways to decorate crutches beautifully.
Table of Contents
- Why You Should Decorate Your Crutches
- 4 Ways to Decorate Your Crutches
- Factors to Consider when Decorating Your Crutches
- How to Decorate Your Crutches
Why You Should Decorate Your Crutches
Decorating crutches helps to give a person an enjoyable activity to engage in, which requires minimal to no physical exertion. This is perfect as they are usually not in a position to do a lot.
It also takes away the boredom that arises from not being able to socialize as much as they used to before being placed on crutches.
Decorating crutches beautifully is also a cool way to encourage children to wear their crutches more confidently. It helps them cope with feelings of discomfort and shyness that can arise, especially when they have to wear them to school or the playground.
Related: How to Pad Crutches with Socks (DIY)
4 Ways to Decorate Your Crutches
There are different ways to amplify the look of your crutches. Your choice will ultimately stem from your personality and the types of materials you have access to.
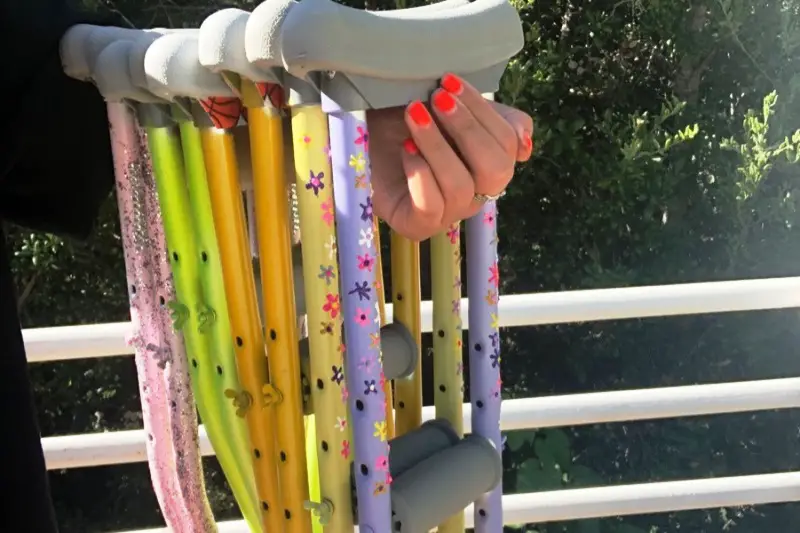
Tapes
These are the most commonly used method of decorating crutches. You can order them online or take a trip to your nearest art store.
Ribbons
This is usually the go-to decoration for children. All you have to do is to check out pretty colors and patterns and pick what best suits your child’s personality.
Even better, allow them to tag along or pick with you as you shop online. It gives them a greater sense of inclusiveness and helps them feel as though they independently handled the project.
This is important as they are in a state where they feel like they have to completely depend on you for everything else.
It also helps to increase the chances of the child agreeing to the project, particularly if they are a bit older.
Related: How to Make Your Crutches Not Slip
Stones
This is the second most common way to decorate crutches. It is most common with teenagers.
The beauty of stones is that they often come as a sheet, not individually. This significantly reduces the work time because you don’t have to attach the stones one by one.
They also come in different colors and shapes, so you get a variety to choose from.
Accessories
Another unique way to decorate your crutches would be to buy cool accessories. They could be woven like woolen craft pieces. You could also opt for jewelry pieces that have your names spelled out.
The options are endless if you decide to go this route. You could even opt for more functional accessories that also serve as name tags or phone pouches.
Factors to Consider when Decorating Your Crutches
An important point to put into consideration when selecting your style, color, or type of decoration is suitability. If your school has strict rules against accessorizing in general, you should opt for beautiful pieces that still tie into the school’s dress rules.
For adults, try to ensure that your choice of decoration ties into the aesthetics of your workplace. This way, you won’t feel uncomfortable or out of place.
Related: How to Adjust Your Crutches to Your Height Properly
How to Decorate Your Crutches
You simply attach the ribbons and accessories to the crutches. Below are simple steps to add stones and tape your crutches.
Taped Crutches
Materials
- Decorative sheets
- Heat Sensitive Tapes
- Scissors
- Pen
- Glue
- Glue gun
- Measuring tape
- Blow dryer
Steps
An alternative to the heat-sensitive tapes would be:
- Melt your glue sticks in the glue gun
- Apply some glue across the long edge of the cut sheets
- Place your sheets across one pole of the crutches and wrap it around the pole
- Firmly press the remaining half of the tape on the other end of the sheet where they meet
- Repeat this entire process until both poles are done
- Take your other crutches and tape them as well
Stoned Crutches
Materials
- Rhinestone sheets
- Measuring tape
- Guerrilla glue
- Scissors
Steps
- Measure the circumference of one of the poles of your crutches
- Use that dimension to guide you and cut the rhinestone sheets into multiple strips
- Strip off a little bit of the paper on the back of the rhinestone sheet
- Gently place that exposed bit against the topmost part of one of the poles
- Test to see if the glue is strong enough before plastering the entire length of the sheet against your pole
- If the glue on the sheet is not strong enough, switch to the guerrilla glue
- Continue to strip off the remaining paper of the sheet and gently but firmly stick it onto the pole
- Depending on the length of the strip, it may or may not cover the entirety of the pole
- If it doesn’t, measure out the remaining length of the pole left uncovered and use that as a guide to measuring out the tape needed
- Repeat steps 4 to 7. Do this till the entire length of the pole is covered
- Repeat the same process for the other pole and then move downwards to the lower part of your crutches
- Measure the circumference of the heads of the screws on the poles to get an estimate of the measurement to use
- Use that measurement and cut out square pieces from the remaining strips available
- Cover the screws with the cut-out pieces
- Repeat these steps on the other crutch